adventure photographers are always behind the scenes, they are the ones doing the expedition...but with camera gear. ever wonder what goes into a pack?

in order to make money, you have to spend it. in this blog post, i will give you links to all the things that go into my rucksack before an expedition. i'll break it down into sections:
section 1: camera gear
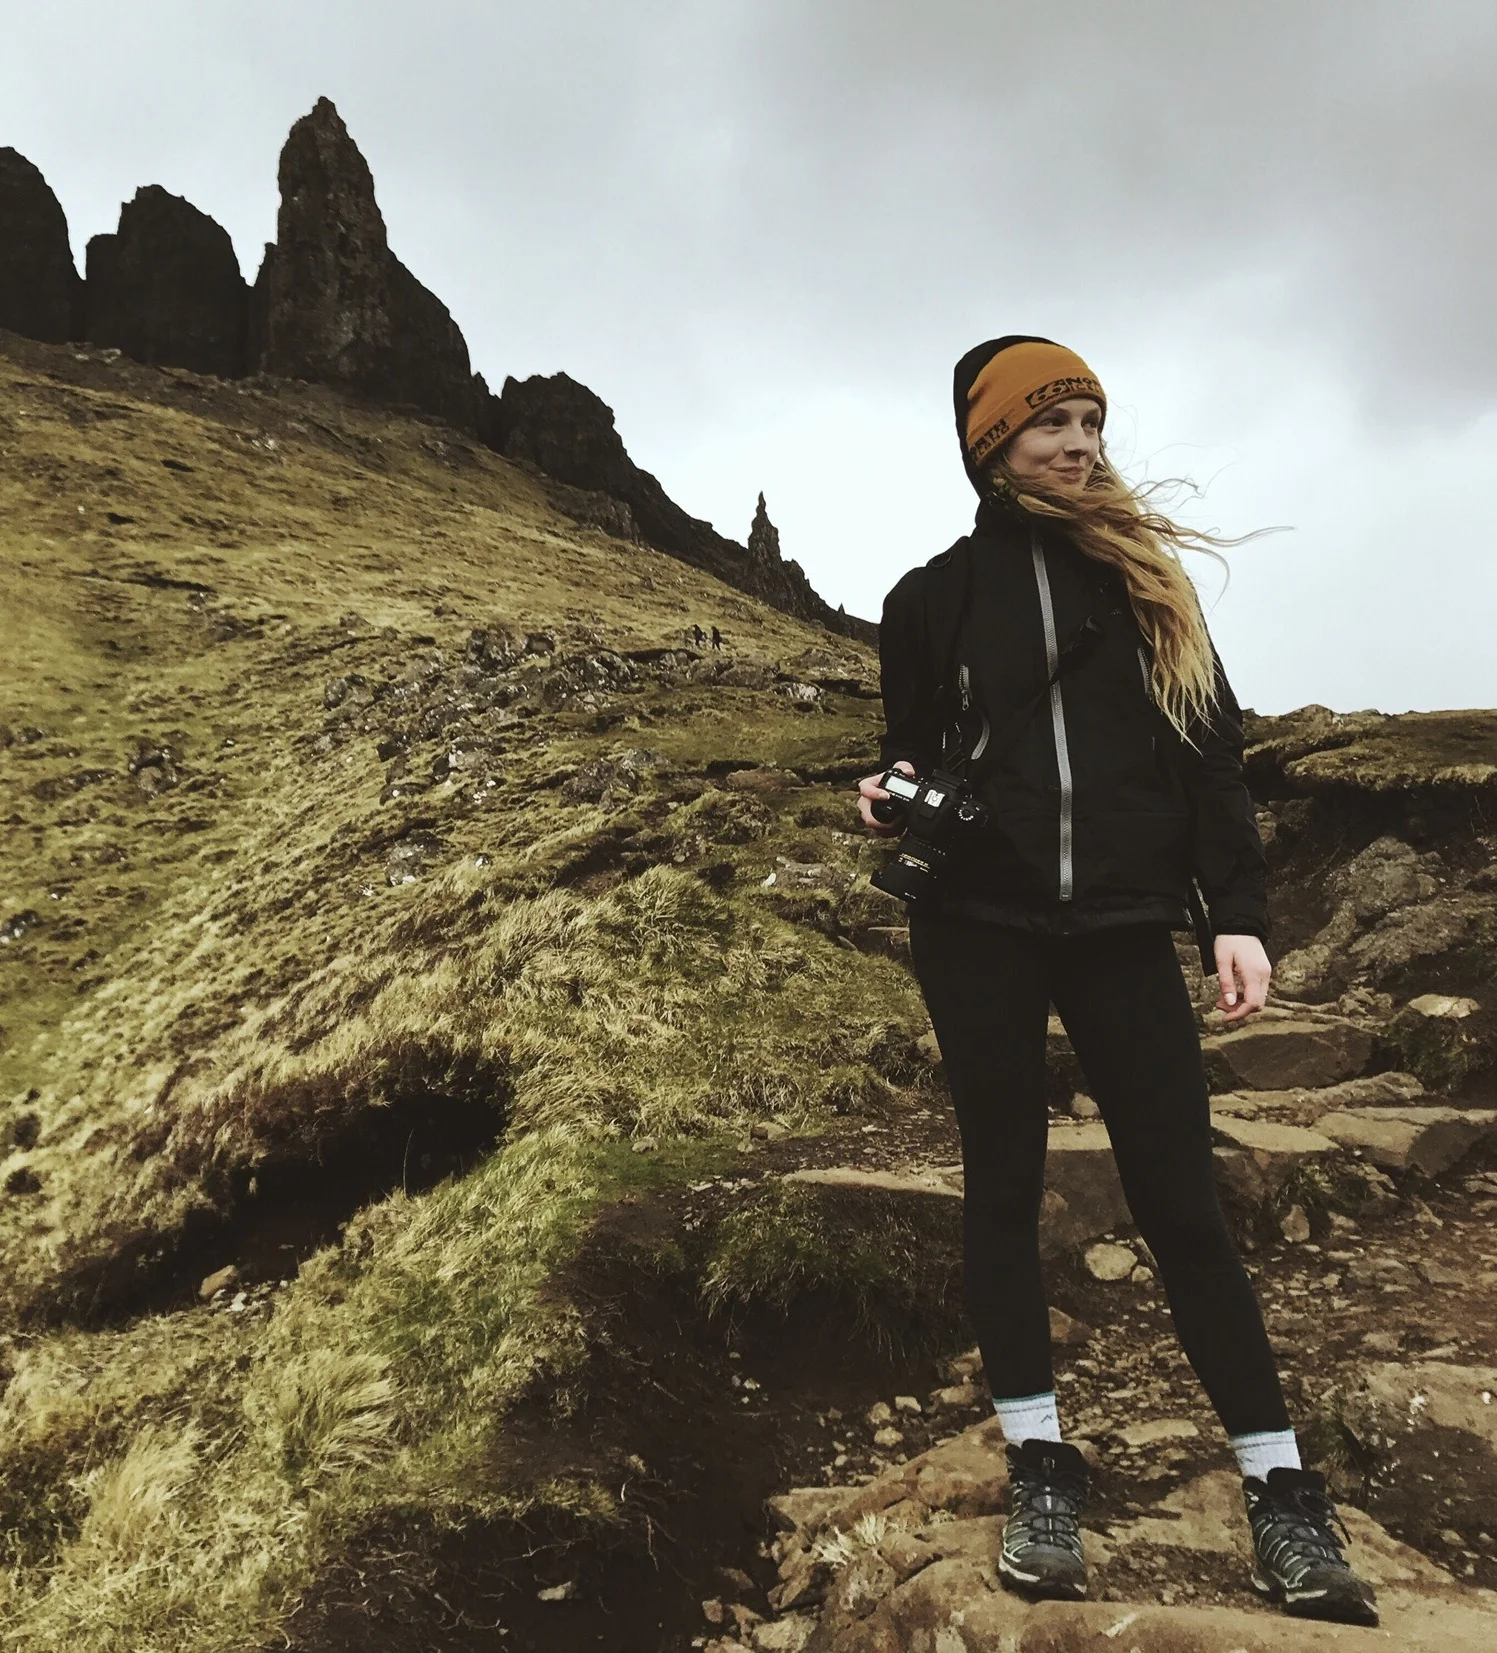
i shoot with a canon eos 7D mark II digital slr camera. when i travel, i usually take two lenses: a canon ef 24-105mm f/4 and a tokina 11-16mm. in the picture above i also have a 70-200mm lens, but don't usually travel with it due to the weight. the 24-105mm lens is a perfect travel lens because it is the best of both worlds. it has the ability for wide angle, yet can zoom in when you need. the 11-16mm is a small compact lens that is great for photographing large structures or trying to show proportion. carrying a camera on backpacking trips is always a struggle, if you use the neck strap it makes your neck sore. to avoid this, i use a carabiner camera sling. (shown in the picture below!) this enables the camera to rest at your hip comfortably, gives you the freedom to use both hands, and you can swing it up to eye level within seconds. for those of you who do video, you realize how much it drains your battery. because my job is photography, i have to put that as a priority to video. when i do videos it is with a gopro because the battery lasts forever, it is portable, you can fit it in your pocket, and it is water proof. these three qualities are vital to getting the best content under stressful situations.
being on an expedition, you always need to be thinking about how to protect your gear from water, moisture, wind, sand, snow, rain, dropping it, extreme temperatures, and many other things. i keep my sd/cf cards in a waterproof, shock proof, shell. it holds four cf cards and eight sd cards. it was one of the best (and cheapest) purchases that has had a significant impact on how i shoot. for a week long expedition i carry four charged batteries and only switch when the battery loses all of its power. it is always better to have more batteries than not enough. i store batteries, cables, hard drives, and lens wipes in a water resistant bag from rei or a pelican case. the down side (or positive side) to a pelican case is that it's heavy and doesn't have the ability to be compact. even if you try your hardest to protect you equipment, sometimes it is inevitable for them to get dirty. and honestly, if you and your camera aren't dirty by the end of the shoot, you need to do things differently. I use zeiss lens cleaning wipes for those moments. the glass of your lens is super fragile, even the slightest scratch can affect your shot. being on expedition in iceland, we were on a sail boat most of the time. even if it wasn't raining, the moisture from the ocean and the salt would create a film across my lens. at the time, i used my beanie to cover the lens while i wasn't shooting. from this, i learned it is so important to carry a bandana or a small microfiber cloth in case you come across instances like this one. i don't use tripods that often, only for slow shutter shots of the stars or in dark rooms. when i do need a tripod, it is this one. This tripod is compact and light (2.5 lbs) and can fold to 12.5 inches. it has all the features you need, such as being able to pan and operate it smoothly. most importantly, you need to be able to charge your electronics. you can get a standard travel plug kit at rei or walmart to cover each country you visit. below is everything i described, plus some tips on how i use my equipment to the best of its abilities.

how to make the best use of your equipment
during expedition it is imperative to prepare for the worst and hope for the best. an example of how to do this is shooting on multiple sd cards. some people use 64gb cards, which is great until you have shot your 7 day expedition on that one card and on the last day it fails you. you can avoid this by shooting half your day on one card and the other half on a different sd card, this way you never lose more than half a day. during the villmark expedition i quickly learned how hard it is to shoot if you use trekking poles. my main purpose was to photograph, and the spontaneity was taken out of it when i had to take the time to put the poles down and then line up my camera. if you want to be an adventure photographer, i would highly suggest not bringing poles unless it is absolutely necessary. depending on what kind of region you are going to, you will quickly learn that the camera batteries charge will drop with the temperature. how do you solve this? keep them warm. how do you keep them warm? i always put my camera batteries in the pocket of my down jacket, this way, they are close to my body heat, easily accessed, and protected from the elements. something i found very hard to find a solution to, was how to change lenses quickly. i found the best way is to get a water resistant cover for your extra lens and put it in the fish netting of your backpack where the water bottle is supposed to go. now, you can reach behind you easily and grab the lens. for the more experienced photographers out there, some question what they mode they should shoot on. i have two different ways of shooting depending on the situation. I shoot on program mode (click here if you don't know where to locate it on your camera) during times that require immediate reaction. for instance when jamie and ian were climbing up the rocky hillside, i didn't have time to check the lighting and make sure all my settings were perfect. i just put that shit on program and pressed the shutter. i also used my 11-16mm lens for this shot in order to get show the size and texture of the rocks surrounding jamie.

i typically try to shoot in manual mode so i have full control over what settings i'm using. if i have time to set up the shot and look at what angle the light is coming through, i try to do that as often as i can. taking the time to set up your shot will make editing a lot easier later on. an example of when i shoot on manual is this picture below. i wanted to be able to bring out the fog encompassing the peak and the shadows on the water reflection. for this photo i shot a 1/160 of a second at f/7.1 iso 200. want to start a debate with a photographer? ask them whether it is better to under expose your photo or over expose it. i have heard from multiple photographers different answers. but, this is only a personal preference, so choose what feels right to you. i personally like to over expose just a tiny amount, this way i can keep all the details of my shadows when i edit later on.
here is the 'before' picture.

before...

after!
that concludes section 1 of my gear. in the next blog post i will cover how to cook on an expedition and what products i use for that. if you have any questions feel free to drop a comment or email me or write me a letter or send a carrier pigeon. i'll most likely answer. so go shoot away and do all things with kindness, you fuckers.